Upgrading your RV thermostat can be one of the smartest decisions you make for enhancing comfort, energy efficiency, and control inside your recreational vehicle. A well-planned RV Thermostat Upgrade allows you to maintain a consistent temperature, optimize energy usage, and enjoy the convenience of modern smart features. However, many RV owners rush into the installation process without understanding the potential pitfalls that can lead to performance issues, poor temperature regulation, or even damage to the HVAC system.
In this comprehensive guide, we’ll explore the most common mistakes RV owners make during a thermostat upgrade, explain how to avoid them, and provide actionable tips for ensuring a smooth installation. Drawing on expert insights and comparisons with high-performing upgrade projects, this article aims to equip you with the knowledge you need to make your RV more comfortable and efficient—all while avoiding unnecessary frustration and costly errors.
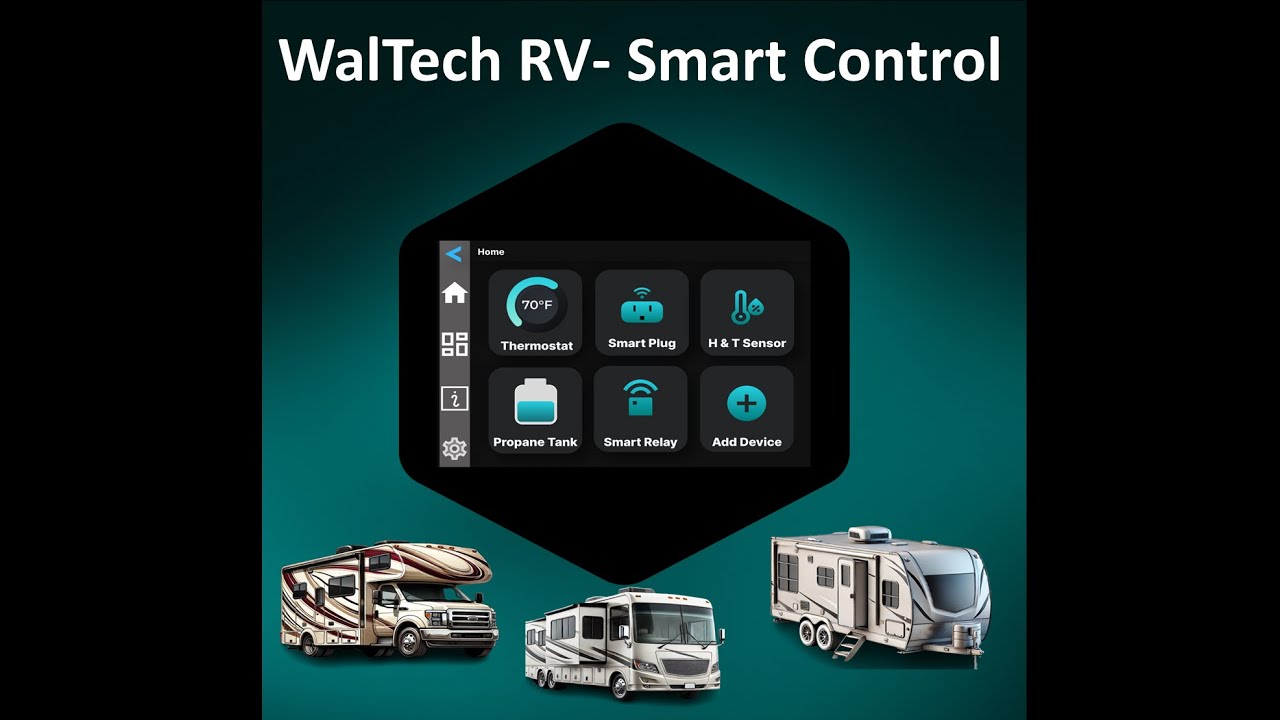
For trusted tools, RV maintenance guides, and accessories, visit Waltech RV—a reliable resource for every RV enthusiast looking to maintain and enhance their travel experience.
1. Skipping Compatibility Checks
One of the most common mistakes RV owners make during an RV Thermostat Upgrade is assuming that any household thermostat will work in their RV. This is far from the truth. Most residential thermostats are designed for 24V systems, while RV systems typically use 12V DC. Connecting the wrong thermostat can cause electrical damage, short circuits, or even complete HVAC failure.
Before making a purchase, always verify the compatibility of the thermostat with your RV’s heating and cooling systems. Manufacturers usually specify whether their models are suitable for RVs, and compatibility charts can often be found online or through trusted retailers like Waltech RV.
Pro Tip: Always match your thermostat to the existing wiring configuration (two-wire, three-wire, or multi-zone) to avoid voltage mismatches and faulty readings.
2. Ignoring the Wiring Diagram
Many RV owners make the mistake of skipping or misinterpreting the wiring diagram during installation. This often results in incorrect connections that cause the thermostat to malfunction or fail to control the HVAC units properly. Even experienced DIY enthusiasts can make errors here because RV wiring can differ from standard home systems.
Always refer to your RV’s owner manual or the thermostat’s installation guide for wiring instructions. Label each wire before disconnecting the old thermostat to ensure you reconnect them correctly. A small mistake—like reversing a power and ground wire—can lead to expensive repairs.
Pro Tip: Take clear photos of your existing thermostat wiring before you remove it. This simple step can save you hours of troubleshooting later.
3. Overlooking Power Supply Issues
Another overlooked factor in an RV Thermostat Upgrade is ensuring a stable power source. Thermostats in RVs often rely on the coach’s 12V battery system. If the power supply is unstable or fluctuating, your thermostat may fail to operate correctly.
Before installation, check your RV’s electrical system for voltage consistency. Low voltage from a weak battery can cause the thermostat to reset frequently or fail to power on. If you’re upgrading to a smart or programmable thermostat, make sure it’s compatible with your RV’s battery system and doesn’t require constant 24V power unless you’ve installed a compatible converter.
Pro Tip: If you’re unsure about the electrical capacity of your RV, consult an RV technician or explore the expert resources available at Waltech RV.
4. Failing to Calibrate After Installation
After completing the installation, many owners assume the thermostat is ready to go—but skipping calibration is a major mistake. Even the most advanced thermostat needs proper calibration to ensure accurate temperature readings and efficient HVAC control.
Calibration ensures that the thermostat’s temperature readings align with actual conditions inside your RV. Inaccurate readings can cause your heating or cooling system to run excessively, wasting energy and reducing comfort.
Pro Tip: Use a separate thermometer to compare the thermostat’s readings during the first few days of use. If there’s a discrepancy, adjust the calibration settings as recommended by the manufacturer.
5. Ignoring Firmware and Software Updates
With the rise of smart thermostats, many RV owners forget that these devices need regular software updates to function optimally. Failing to update firmware can result in connection errors, inaccurate scheduling, or poor integration with other RV systems.
When upgrading, always check if the thermostat manufacturer provides firmware updates. These updates often fix bugs, improve compatibility, and enhance performance. If your thermostat connects via Wi-Fi or Bluetooth, enable automatic updates whenever possible.
Pro Tip: Bookmark your thermostat manufacturer’s support page or sign up for update notifications to stay ahead of performance issues.
6. Poor Thermostat Placement
Even a perfectly installed thermostat won’t perform well if placed in the wrong location. One of the biggest RV Thermostat Upgrade mistakes is mounting the device in areas exposed to direct sunlight, near vents, or on exterior walls. These positions can cause inaccurate temperature readings, leading to inefficient heating or cooling cycles.
Ideal placement should be on an interior wall, away from heat sources, cold drafts, or direct airflow. This allows the thermostat to measure the ambient temperature accurately and maintain consistent comfort.
Pro Tip: If you’re unsure where to install it, consult your RV manufacturer’s manual or professional technicians for recommended locations.
7. Ignoring HVAC Maintenance Before Upgrade
A thermostat upgrade cannot compensate for an underperforming HVAC system. Many RV owners skip pre-upgrade maintenance, assuming a new thermostat will fix heating or cooling issues. However, clogged filters, leaky ducts, or weak fans can undermine even the best thermostats.
Before upgrading, inspect and clean your HVAC components. Replace air filters, check ducts for blockages, and ensure your fans are functioning properly. Addressing these issues before installation ensures the thermostat can perform to its full potential.
Pro Tip: Schedule a professional inspection before a major upgrade. At Waltech RV, you can find guides and resources for maintaining your RV’s heating and cooling systems.
8. Overlooking User Manuals and Training
Another common oversight is skipping the user manual or not learning the thermostat’s features thoroughly. Modern thermostats come with advanced options like programmable schedules, remote access, and energy-saving modes. Ignoring these functions limits your ability to enjoy the full benefits of the upgrade.
Spend time familiarizing yourself with all settings, modes, and connectivity features. Many manufacturers also provide video tutorials or online manuals that can make the learning curve easier.
Pro Tip: Save your manual digitally on your smartphone or tablet for quick reference when traveling.
9. Not Testing All Functions
After installation, some RV owners test only heating or cooling but fail to verify all modes—such as fan speed, auto mode, or energy saver functions. This partial testing can hide underlying wiring or configuration problems.
Perform a complete system test immediately after installation. Ensure that heating, cooling, and fan operations respond correctly to thermostat settings. Testing early allows you to troubleshoot before you hit the road.
Pro Tip: Run your HVAC system for at least 20 minutes in each mode to confirm stable operation and accurate temperature control.
10. Skipping Professional Assistance When Needed
While DIY upgrades can be satisfying, certain installations—especially when dealing with multi-zone systems or advanced smart thermostats—require professional expertise. Attempting complex wiring without experience can cause electrical hazards or void your RV’s warranty.
If you encounter confusing wiring or unexpected behavior after installation, don’t hesitate to seek professional help. Qualified RV technicians can ensure your upgrade is both safe and efficient.
Pro Tip: Visit Waltech RV for trusted tools, guides, and recommendations for professional RV service providers.
Conclusion
A successful RV Thermostat Upgrade requires careful planning, attention to detail, and an understanding of your RV’s unique electrical system. Avoiding the common mistakes outlined above will help you achieve smoother installation, better temperature control, and long-term performance from your HVAC system.
By taking the time to check compatibility, wiring, power supply, and calibration, you can transform your RV into a more comfortable and energy-efficient home on wheels. Remember, precision and preparation are key—just as important as the thermostat itself.
Waltech RV – Your Trusted Partner in Every RV Thermostat Upgrade Journey.
FAQs About RV Thermostat Upgrade
- Can I use a home thermostat for my RV?
No. Most home thermostats operate on 24V, while RVs use 12V systems. Always choose a thermostat designed specifically for RV use. - Do smart thermostats work in RVs?
Yes, but only if they’re compatible with 12V systems or use an appropriate converter. Some smart models designed for RVs are optimized for mobile use. - Why does my new RV thermostat show incorrect temperatures?
Inaccurate readings often result from poor placement, lack of calibration, or exposure to direct heat or sunlight. - How often should I recalibrate my RV thermostat?
Calibration should be checked annually or whenever you notice inconsistent temperature readings. - Is professional installation necessary for an RV Thermostat Upgrade?
Not always, but it’s highly recommended for multi-zone or smart thermostats to ensure proper wiring and performance.